You are here:
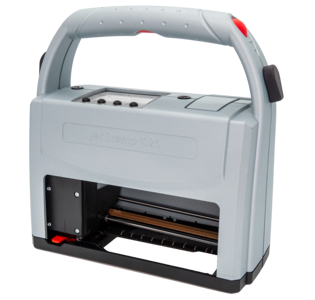
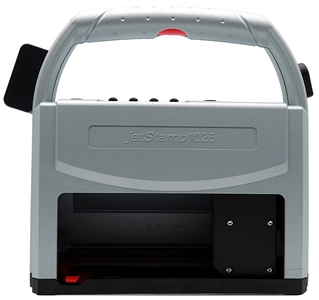
Mobile marking device jetStamp® 1025 sense
MEASUREMENT DOCUMENTATION from a single source
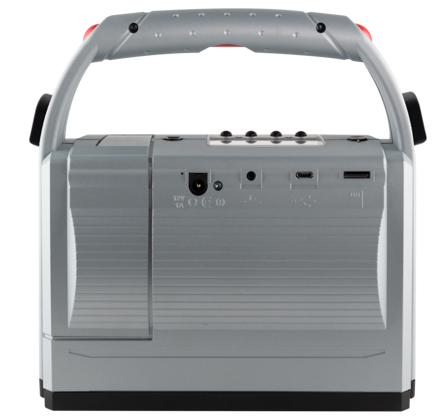
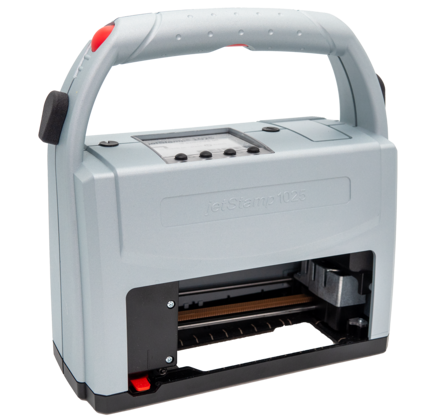
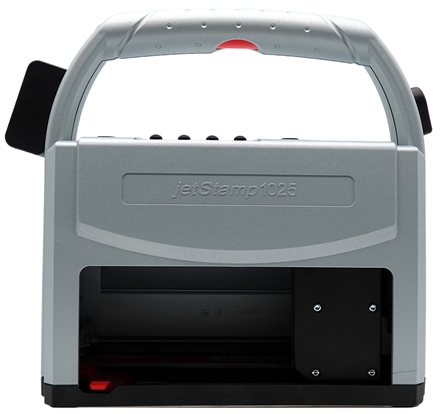
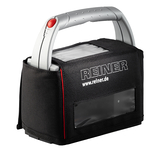
The ‘sense’ makes the difference! In addition to the basic jetStamp® 1025 model, REINER® offers an additional device solution for mobile measuring tasks and their immediate documentation as direct printing.
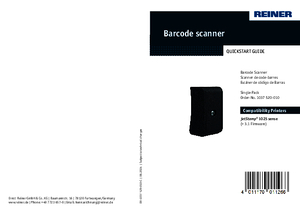
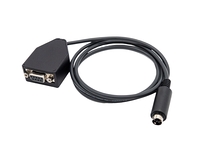
The jetStamp® 1025 sense model offers maximum flexibility in the documentation of measured values. This model works without external, additional measuring devices. The required sensor (barcode scanner, V24-RS232 sensor adapter cable) is connected directly to the device. The jetStamp® 1025 sense is therefore a closed measuring device with an integrated printer.
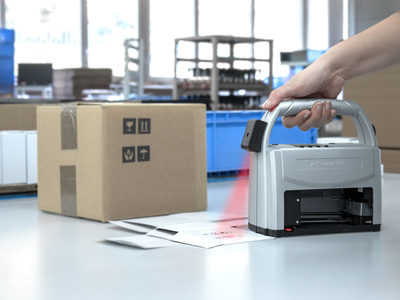
The recorded measured value can be printed directly and repeatedly on documents and other surfaces at the measuring location.
The measurement results are documented immediately and therefore always remain tangible, visible and permanently traceable.
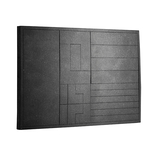
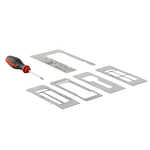
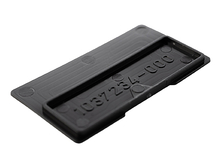
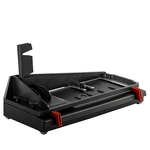
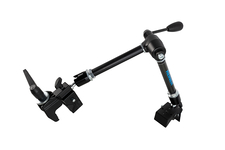
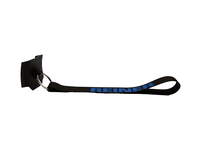
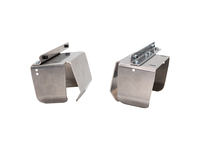
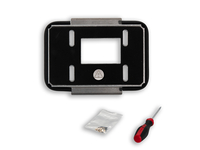
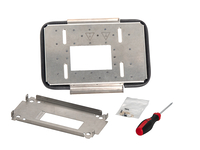
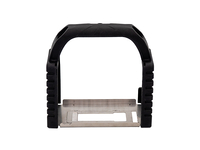
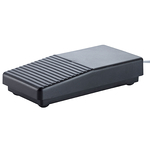
REINER® offers various accessories for the jetStamp® 1025 sense, see accessories.
Expand your possibilities and print larger impressions with maximum precision!
Prints on:


- Various measuring tasks with a single measuring device
- Available sensors: Barcode Scanner, V24-RS232 sensor adapter cable
- 100% mobile
- Max. print size: 85 x 52 mm (W x H) = 2 inch with corresponding accessories

Application images
Sample Prints
Technical Data
| Imprint: | Measurement results (sense objects), number, date, time, text, 1D Code & 2D Code sequential, graphic |
|---|---|
| Prints from: | PCset graphic, MOBILEset graphic, Word, Excel, Labelsoftware, ERP system such as SAP, Oracle, Microsoft Dynamics, Lexware |
| Display: | Display available |
| Dimensions (L x W x H ): | 195 x 100 x 200 mm |
| Weight: | ca. 900 g |
| Data transfer: | USB, Bluetooth, WiFi/WLAN capable |
| Storable print images: | 255 storable print images |
| Print technology: | Inkjet |
| Max. print area dimension (W x H): | 85 x 25 mm |
| Max. print speed: | < 1 s/print |
| Print resolution: | 300 dpi |
| Battery capacity: | up to 1.000 prints |
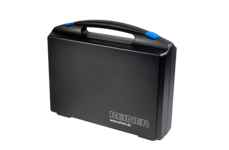
| Order No. | 1030 000-200 | jetStamp® 1025 sense incl. case |
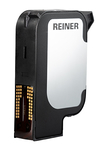
| Printer Cartridges: | Please select desired print cartridge separately here |
Video
close
With the "ONE device solution", the jetStamp1025 sense with the matching bar and QR code reader, the requirements of intralogistics are significantly improved by a mobile marking device.
close
QuickGuide 1o3: Copy
Repacking, labelling, and sending on are common work steps in incoming goods. The REINER jetStamp® 1025 sense with its plug-on SENSOR BARCODE 1D/2D can noticeably simplify this work. The all-rounder is the only device needed for this since the mobile marking device can process the barcodes on the goods to fully automatically produce a copy of the label that can be printed on, e.g., for smaller or larger packaging units.
Repacking, labelling, and sending on are common work steps in incoming goods. The REINER jetStamp® 1025 sense with its plug-on SENSOR BARCODE 1D/2D can noticeably simplify this work. The all-rounder is the only device needed for this since the mobile marking device can process the barcodes on the goods to fully automatically produce a copy of the label that can be printed on, e.g., for smaller or larger packaging units.
close
QuickGuide 2o3: Convert
The REINER jetStamp® 1025 sense with the attachable SENSOR BARCODE 1D/2D makes marking and re-marking much easier. Its special feature is that it needs no further devices since this mobile marking device is an all-rounder for processing barcodes. When used based on the “Scan-Convert-Print” principle, it reads all data from the code and fully automatically converts them into the desired barcode type for further processing. The result is then printed on by the mobile inkjet printer, allowing the goods or products to continue on their journey.
The REINER jetStamp® 1025 sense with the attachable SENSOR BARCODE 1D/2D makes marking and re-marking much easier. Its special feature is that it needs no further devices since this mobile marking device is an all-rounder for processing barcodes. When used based on the “Scan-Convert-Print” principle, it reads all data from the code and fully automatically converts them into the desired barcode type for further processing. The result is then printed on by the mobile inkjet printer, allowing the goods or products to continue on their journey.
close
QuickGuide 3o3: Command
Goods, products or components must be registered and correctly assigned upon arrival in a company. This is particularly easy with the REINER jetStamp® 1025 sense and the plug-on SENSOR BARCODE 1D/2D. The mobile marking device working to the “Scan-Command-Print” principle is an all-rounder for processing of barcodes. It first scans the code on the goods and processes the data available in it. Then the print image from the database is automatically assigned correctly. The barcode can be printed anew right after scanning, without requiring connection to a PC or any other intermediate device.
Goods, products or components must be registered and correctly assigned upon arrival in a company. This is particularly easy with the REINER jetStamp® 1025 sense and the plug-on SENSOR BARCODE 1D/2D. The mobile marking device working to the “Scan-Command-Print” principle is an all-rounder for processing of barcodes. It first scans the code on the goods and processes the data available in it. Then the print image from the database is automatically assigned correctly. The barcode can be printed anew right after scanning, without requiring connection to a PC or any other intermediate device.
References
Download
downloads-intro-rwd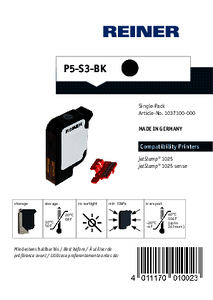
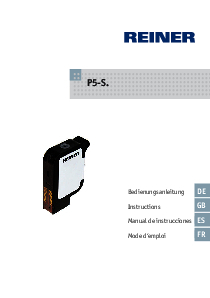
jetStamp® 1025 sense - Inkjet cartridge P5-S3-BK - Information on cleaning and safety
PDF · 339,99 KB

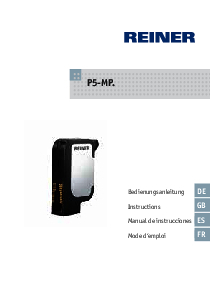
jetStamp® 1025 sense - Inkjet cartridge P5-MP3-BK - Informationon cleaning and safety
PDF · 327,41 KB

jetStamp® 1025 sense - Inkjet cartridge P5-MP4-BK - Information on cleaning and safety
PDF · 327,55 KB
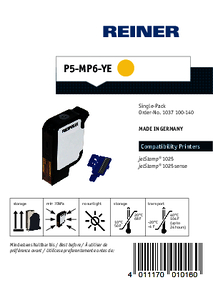
jetStamp® 1025 sense - Inkjet cartridge P5-MP6-YE - Information on cleaning and safety
PDF · 360,51 KB

jetStamp® 1025 sense - Quick Start Guide - Application template (stainless steel)
PDF · 432,27 KB
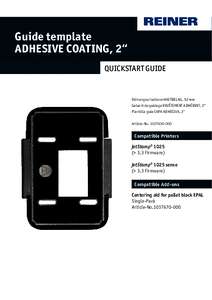
jetStamp 1025 sense - Quick Start Guide - Guide template ADHESIVE COATING 2"
PDF · 2,93 MB
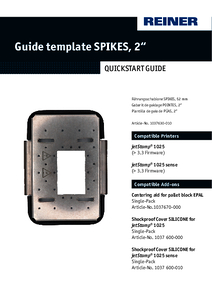
jetStamp® 1025 sense - Quick Start Guide - Guide template SPIKES
PDF · 4,36 MB

jetStamp® 1025 sense - Quick Start Guide - Centering aid for pallet block EPAL
PDF · 991,57 KB
APP MOBILEset graphic - operating manual - jetStamp® 1025 sense
PDF · 464,30 KB

REINER® brochure: jetStamp® 1025 sense with Sensor barcode 1D/2D
PDF · 2,34 MB
Printer cartridges
Accessories
FAQ
How do I change the seal on my jetStamp® 1025 sense?
1. Place the device on a firm surface
2. Press the function button for the print cartridge. The print carriage moves to the right into the cleaning/change position.
3. Lift the seal retaining clip upwards.
4. Remove the seal tip from the notch.
5. Insert the new seal with the seal tip into the notch first.
6. Press the seal down lightly until it engages in the holder.7. press the function button for the print cartridge. The print carriage moves back to the home position.
A movie with the instructions “Inserting the print cartridge and seal” can be found here.
You can also find more information on this in the operating instructions under “Replacing the seal”:
Can I also record variable measured values with the jetStamp® 1025 sense and print them directly?
Yes, with the jetStamp® 1025 sense, various sensors can be linked to the mobile marking device in order to record variable measured values and print them directly.
Sensors already available as standard include the barcode scanner and the V24-RS232 sensor adapter cable for stationary measuring equipment.
If you would like to take other measurements, please contact us at the following e-mail address: customerservice@reiner.de
Sensors already available as standard include the barcode scanner and the V24-RS232 sensor adapter cable for stationary measuring equipment.
If you would like to take other measurements, please contact us at the following e-mail address: customerservice@reiner.de
How do I change the print cartridge on my jetStamp® 1025 sense?
INFO: Always use the seal of the enclosed print cartridge - always replace the seal with new print cartridges.
A short video explains how to change the print cartridge quickly and easily. Click here for the YouTube video:
jetStamp® 1025
You can find more information on this in the operating instructions under “Replacing the print cartridge”. You will find the link to the operating instructions under the respective model name:
How do I transfer the print images to my jetStamp® 1025 sense?
The print images are created and transferred using the “PCset graphic” program supplied.
You can find more information on this in the operating instructions under “Example workflow: Create print image”:
You can find more information on this in the operating instructions under “Example workflow: Create print image”:
Can I program the print image for my jetStamp® 1025 sense myself?
Yes, you can create the print images yourself using the “PCset graphic” software supplied.
You can find more information on this in the operating instructions under “Example workflow: Create print image”:
You can find more information on this in the operating instructions under “Example workflow: Create print image”:
Is consecutive numbering of the barcodes possible?
Yes, with the “PCset graphic” software supplied, certain barcodes can be created with a consecutive numerator.
However, it should be noted that only specific barcode types can be numbered consecutively. These include the 1D barcodes Code 39 and Code 128 as well as the 2D barcodes QR code, DataMatrix, PDF417 and Aztec.
Further information can be found in the chapter 'Consecutive numbering/dating' in the operating instructions:
What programs can I use to print with?
- REINER® Software PCset graphic
- Text processing software, such as Word
- Spreadsheet programs, such as Excel
- ERP systems, such as SAP
- Label software
- Stamps of Deutsche Post/Schweizer Post
My jetStamp® 1025 sense does not work?
There may be several reasons why the jetStamp® 1025 is not working.
Information on the various causes can be found in the following operating instructions under the chapter “Recognizing and eliminating faults”:
Information on the various causes can be found in the following operating instructions under the chapter “Recognizing and eliminating faults”:
Can I send print data from Word to my jetStamp® 1025 sense?
Yes, the jetStamp® 1025 can be set up as a standard Windows printer using the REINER® printer driver. This means that print data can be sent to the jetStamp® 1025 from any program.
For setting up and installing the printer driver, see the following operating instructions:
For setting up and installing the printer driver, see the following operating instructions:
How do I store the fast-drying ink for my 1025 sense marker?
There are three important points to bear in mind when storing the quick-drying ink:
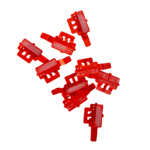
- When the quick-drying ink is not in use, it should be placed in the clip provided. The clip should then be packed together with the ink in the aluminum bag provided to prevent the ink from evaporating.
- Make sure that the quick-drying ink is not exposed to excessive temperature fluctuations. The quick-drying ink should be stored in a cool (between 10-20°C) and dry place.
You can find more information on this in the operating instructions under “Storage”:
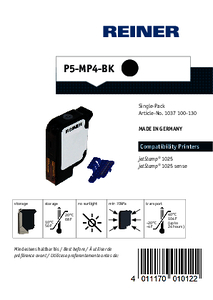
jetStamp® 1025 - Inkjet cartridge P5-MP4-BK - Information on cleaning and safety
PDF · 327,55 KB
What is the quick-drying MP3-ink made of?
The quick-drying inks are alcohol-based inks. Therefore, they dry faster than regular water-based inks. You can find the safety sheets for MP3 in the following documents:

jetStamp® 1025 sense - Inkjet cartridge P5-MP3-BK - Informationon cleaning and safety
PDF · 327,41 KB
Frequently asked questions about Bluetooth:
Why can't I find my jetStamp 1025 sense when searching for Bluetooth devices?

- Activating Bluetooth on the jetStamp® 1025 sense: Make sure that Bluetooth is turned on at your jetStamp® 1025 sense. To do this, navigate to the device settings and activate the “Bluetooth” option under the “Wireless” menu item.
- Adjust Bluetooth settings on the PC: Open your PC settings and go to Bluetooth & Devices - Devices. Under the device settings, the “Bluetooth Device Discovery” option must be changed from “Standard” to “Extended”.
Why can't I connect to my jetStamp 1025 sense even though it is already paired?
- Delete the pairing and pair again: Delete the existing pairing and try to pair again.
- Update the firmware: Make sure that your jetStamp® 1025 sense has the latest firmware version. Click on “Software” under “DOWNLOAD” to download the latest version.
How can I improve/accelerate my Bluetooth communication?
- Updating the firmware: Make sure that your jetStamp® 1025 sense is equipped with the latest firmware version. Click on “Software” under “DOWNLOADS” to download the latest version.
- Pairing jetStamp® 1025 sense with your PC: To pair your jetStamp® 1025 sense with your PC, open the settings of your PC and navigate to Bluetooth and Devices. Select Add device and start the Bluetooth search. The search may take a moment. Your jetStamp® 1025 sense will be displayed in the list of available devices with the serial number in the format “jetStamp® 1025-xxxxxx”.
- Use a suitable Bluetooth stick: You should use a Bluetooth stick with version 4.0 or 4.2 for the jetStamp® 1025 sense.
How do I pair my jetStamp® 1025 sense with my PC?
- Activate Bluetooth on your PC: Click on the Start menu and open the settings(gear icon). Go to Bluetooth and devices or devices and turn on Bluetooth if it is still disabled.
- Add Bluetooth device Add: Go back to Bluetooth and devices in the Windows settings and click on Add a device. Select Bluetooth as the connection type. The PC will now begin searching for available Bluetooth devices.
- Selecting the device: Wait until your jetStamp® 1025 sense appears in the list of found devices. It should usually be displayed with the device name, “jetStamp® 1025-xxxxxx”. Click on the device to start pairing. Pairing should be done without a message. If your jetStamp® has been successfully paired, your device will appear under Bluetooth and Devices in the Other Devices section.
How do I recognize the Bluetooth version of my PC / Bluetooth stick?
To determine the Bluetooth version of your PC or Bluetooth stick, proceed as follows:
- Open Device Manager: Right-click the Start menu and select Device Manager.
- Find Bluetooth adapter: In the list, look for ” Bluetooth” and click the arrow to display the Bluetooth devices.
- View adapter information: Right-click your ‘Bluetooth adapter’ (name varies, but always ends in Adapter) and select ‘Properties’. Then switch to the “Advanced” or “Details” tab.
- Identify Bluetooth version: Look for the information in the “Firmware Version” or “Bluetooth Version” field. If the version is not specified directly, you can use the “LMP version” (Link Manager Protocol) to determine the Bluetooth version.
• LMP 6.x corresponds to Bluetooth 4.0
• LMP 7.x corresponds to Bluetooth 4.1
• LMP 8.x corresponds to Bluetooth 4.2
• LMP 9.x corresponds to Bluetooth 5.0
• LMP 10.x corresponds to Bluetooth 5.1
• LMP 11.x corresponds to Bluetooth 5.2
• LMP 12.x corresponds to Bluetooth 5.3
• LMP 7.x corresponds to Bluetooth 4.1
• LMP 8.x corresponds to Bluetooth 4.2
• LMP 9.x corresponds to Bluetooth 5.0
• LMP 10.x corresponds to Bluetooth 5.1
• LMP 11.x corresponds to Bluetooth 5.2
• LMP 12.x corresponds to Bluetooth 5.3
How do I recognize the generation of my jetStamp® 1025 sense?
To determine the generation of your jetStamp® 1025 sense, navigate in the device menu to the menu item that displays the serial number and firmware version (press “>” twice). Then press the right menu button. The menu will display the following information:
1. BT Type PAN1026 for Generation I
2. ESP32 v.xxx, Web: x for Generation II
1. BT Type PAN1026 for Generation I
2. ESP32 v.xxx, Web: x for Generation II
Problems with communication interruptions? Concerns about range?
If you suspect that the communication problems are related to the distance to your jetStamp® 1025 sense, please check the following points:
1. Distance: How far is your jetStamp® 1025 sense from your PC? Try to reduce the distance.
2. Obstacles: Are there obstacles such as walls, cabinets or similar barriers between your PC and the jetStamp® 1025 sense.
3. Bluetooth stick: Note which Bluetooth stick you are using. We recommend a stick with a long range.
Frequently asked questions about USB:
What to do if there is a loose connection on the jetStamp® 1025 sense?
- Check the USB cable: First, replace the USB cable, as repeated plugging and unplugging can cause wear and tear, leading to an unstable connection .
- Check USB port: If the problem persists, it could be the USB port of the jetStamp® 1025 sense. In this case, repair by REINER® is required.
How do I check whether the USB driver for my jetStamp® 1025 sense is installed correctly?
- Check via PCset graphic: If your jetStamp® 1025 sense connects when you connect it to the PCset graphic software, the USB driver is installed correctly.
- Check the device manager: Open the device manager and check under Ports (COM & LPT) whether the jetStamp® 1025 is displayed as “REINER jetStamp® 1025 sense (COMxyz)”. If not, reinstall the USB driver by reinstalling the PCset graphic software.


