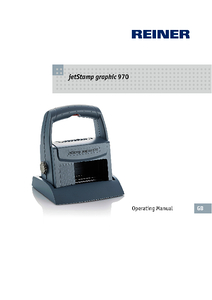
How do I change the print cartridge on my jetStamp® graphic 970?
- Place the jetStamp® graphic 970 in the base station.
- Set the setting wheel to position 1.
- Press and hold the release button and remove the device from the base station. The print carriage moves to the middle position.
- Release the release button.
- Press the print cartridge lock slightly to the right until the print cartridge flap can be opened.
- Open the print cartridge flap.
- Remove the print cartridge from the device.
- Remove the new print cartridge from the packaging and remove the protective film from the nozzles.
- Place the device on a firm surface.
- Insert the print cartridge.
- Close the print cartridge flap.
- Press the release button. The print carriage moves to the home position.
The following video explains how to change the print cartridge quickly and easily:
jetStamp® graphic 970
You can find more information on this in the operating instructions under “Changing the print cartridge”:
jetStamp® graphic 970
You can find more information on this in the operating instructions under “Changing the print cartridge”:

